

Google Sketchup Training in India
- Real-Time Experts Sessions
- LIVE Project
- Certification
- Affordable Fees
- Flexibility
- Placement Support
Google SketchUp’s intuitive interface enables users to swiftly generate precise models, leveraging a vast library of pre-built components or crafting custom elements. Its robust suite of features encompasses everything from basic shapes to intricate detailing, allowing for the meticulous representation of buildings, infrastructure, and urban layouts characteristic of tech clusters.
Moreover, SketchUp’s compatibility with various file formats streamlines collaboration across multidisciplinary teams, fostering efficient workflows and seamless integration with other design software and platforms.
In the context of tech cluster design, where innovation thrives on effective communication and visualization, Google SketchUp emerges as a cornerstone tool. Its accessibility and versatility empower designers to translate visionary concepts into tangible, immersive models that not only inspire but also inform strategic decision-making processes, ultimately shaping the dynamic landscapes of tomorrow’s technology hubs.
Applications
Google SketchUp is a user-friendly 3D modeling software designed for architects, designers, and engineers. Its intuitive interface and robust features enable the creation of precise and detailed models. Compatible with various file formats, SketchUp facilitates seamless collaboration and visualization for diverse projects.
Civil
Lorem ipsum dolor sit amet, consectetur adipiscing elit. Ut elit tellus, luctus nec ullamcorper mattis, pulvinar dapibus leo.
Course Highlights:
Google SketchUp Foundation :
- Interior modelling
- Exterior modelling
- Generate clear, visual RFI graphics
- Export-import cad as well as other data types
- Collaborate
- Creating 3d text
- Animating and rendering your drawings
Google SketchUp Advanced :
- Use of 3d warehouse
- Advance V-ray light in model
- Add Camera projection
- Advance modelling in SketchUp
- Work on advance project
- Advance Material & textures
- Hair & fur modifiers
- Rendering with V-ray advance
- Create Walkthrough of model
- Add realistic Animations
Duration :
- 30 Hours Theory
- 25 Hours Practical
- 20 Hours Project work
Foundation Technical Features:
Interior Designer
A practical introduction for interior designers and students. Covers the basics of creating 3D models before showing how to create space plans, model furniture, cabinetry, and accessories, experiment with colors and materials, incorporate manufacturers’ models into project plans, and create final presentations and animated walk-throughs for clients. Includes downloadable sample models and a tutorial video, sample questions and activities for instructors and additional online resources for students and self-learners.

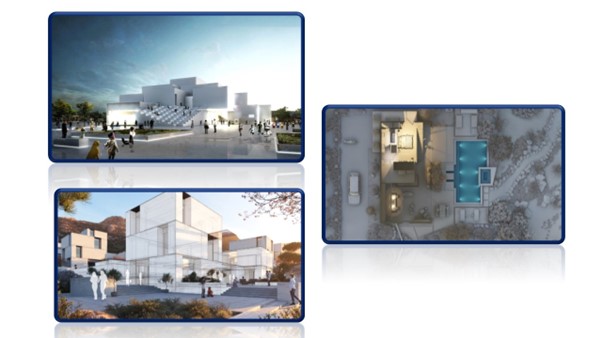
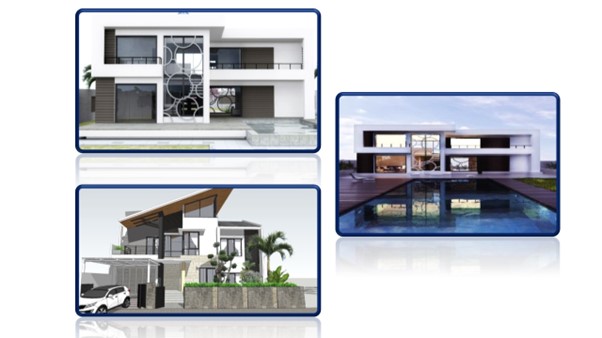
Exterior Designing
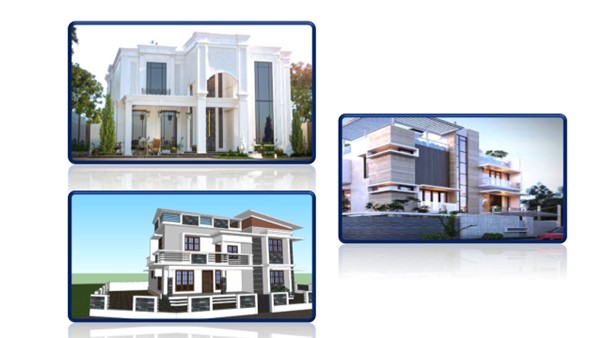
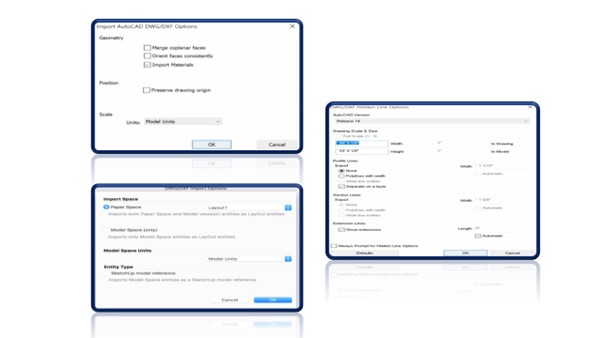
Export-import CAD as well as other data types
SketchUp Pro can bring in DXFs and DWGs from any standard CAD package. It can produce images, PDFs, CAD files, and HD animations. You can be sure that SketchUp Pro will plug right into your workflow.
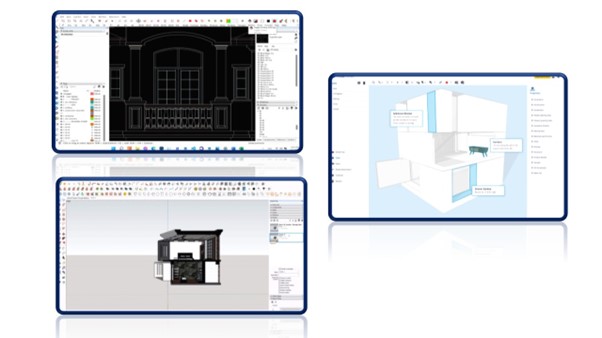
COLLABORATE
Construction organizations use SketchUp Pro to quickly and effectively communicate 3D information to all project teams, enhancing collaboration and ensuring a shared vision. Using 3D models, one can make more informed decisions, communicate project details, and share ideas with colleagues and customers to reach a common goal.
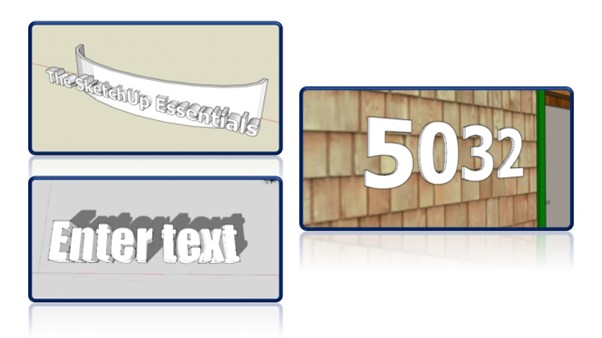
Creating 3D text
- Go to Tools > 3D Text
- Choose your settings, font, and enter your text in the field
- Hit Enter
- Select the face or plane you’d like to place your text Height
- 3d text gives you an option to choose the height of your text Width
Animating and rendering your drawings
SketchUp can animate scenes of a 3D model. Animations are a great way to show off your model from different angles or share shadow studies. For example, say you create a scene with a morning shadow, another scene with a noon shadow, and a third with an evening shadow. With SketchUp’s animation feature, you can watch the shadow transition from morning to evening.
Play an animation of the scenes in SketchUp. Export the animation to a video file, such as .mp4, which plays on most devices.
Advance Technical Features:
3D Warehouse
- Search box.
- Upload a model
- Sign In link/user menu
- Featured community models
- Featured catalogues
- Featured commercial models
- Featured users
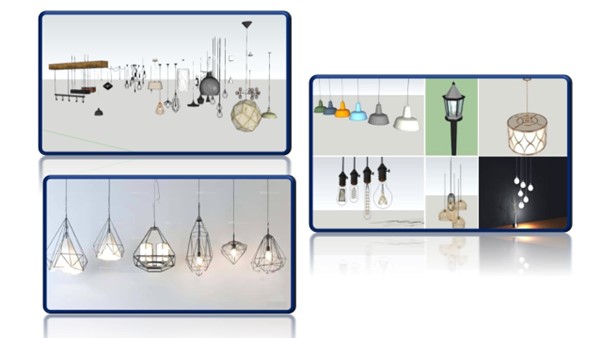
Vary light in model 3D
V-Ray is a very popular extension for lighting in SketchUp. It’s perfect for creating a photo-realistic exterior daytime view of a model. Once you’ve installed it, simply use the V-Ray asset editor to adjust your render settings. The materials are initially overridden so the exterior lighting contribution is the focus. Open the ‘lights’ tab and you see that sunlight is added by default. When you click on the ‘sunlight’ source you get a menu where you choose various sun related parameters to set, things like color, intensity, size, and more.
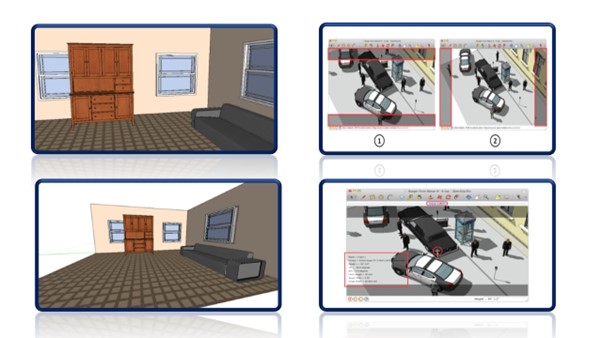
Camera projection
Creating an ACT camera
To create a camera using ACT:
Select View > Tool Palettes > Advanced Camera Tools (Mac OS X) or View > Toolbars > Advanced Camera Tools (Microsoft Windows). The Advanced Camera Tools toolbar is displayed.
Context-click and select Done. You are finished creating your camera.
Advance modelling
- Navigating SketchUp
- Creating camera views
- Configuring the toolbars on Mac and Windows
- Selecting, moving, and scaling objects
- Using the line tools for 3D drawing
- Creating rectangles, outlines, circles, and freehand shapes
- Creating 3D text
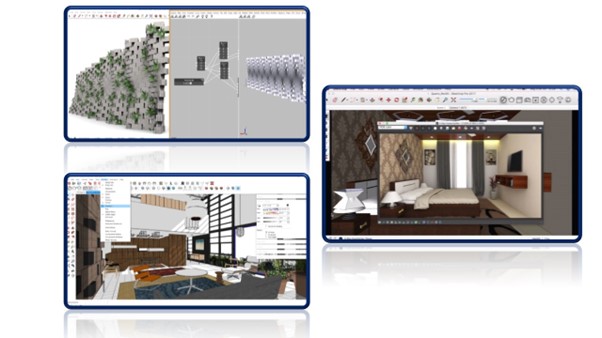
Project work
• SketchUp Pro is the easiest way to build, analyse or present in 3D!
• Communicate with everyone on the projected Win of more jobs with impressive marketing collateral.
• Generate clear, visual RFI graphics.
• Model details to clarify complex conditions.
• Produce site logistics plans Create dimensionally accurate, highly-detailed 3D models.
• No extensive training is required.

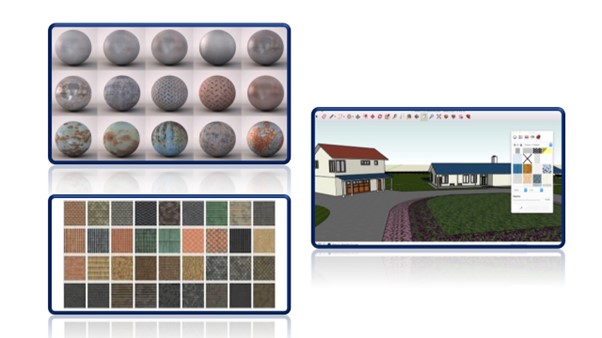
Material & texture
After you apply materials like these to your model, the special capabilities of SketchUp’s materials can help you do any of the following:
Replace one material with another: Say you want to show a metal roof instead of shingles. You can swap the roofing material for shingles quickly and easily.
Edit the material: Because the colour and texture are separate, you can change them independently of each other.
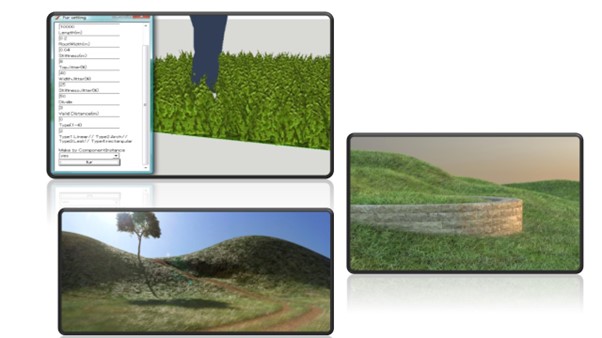
Hair & fur modifiers
Components of the Hair and Fur Feature-
• Growth Objects
• Guide Hairs
• Styling Hair
• Copying and Pasting Hair
• Textures, Vertex Maps, and Shaders
• Lighting Considerations
• Loading and Saving
• Animating Hair
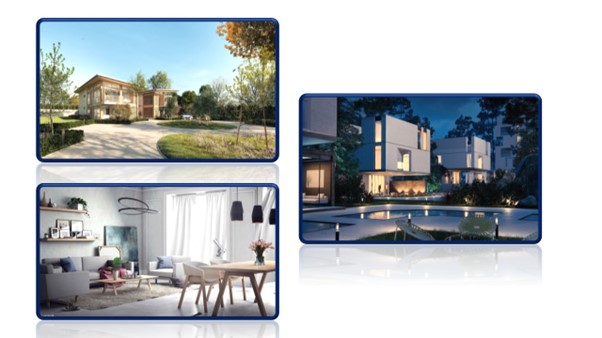
Rendering with V-ray
V-Ray for SketchUp is a 3D rendering software that combines real-time and photoreal rendering — all in SketchUp. From beginner to pro, Chaos V-Ray has all the tools you need to visualize your SketchUp projects from start to finish.
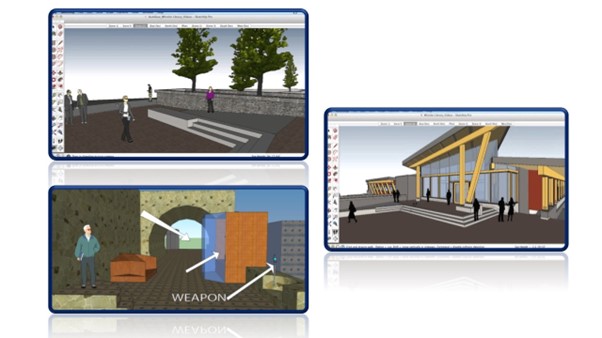
Create Walkthrough of model
That’s basically what SketchUp’s walkthrough
The Look Around tool enables you to move the camera from side to side, sort of like turning your head.
The Walk tool moves SketchUp’s camera forward or turns it in different directions, which simulates how your model looks from eye height.
Add realistic Animations
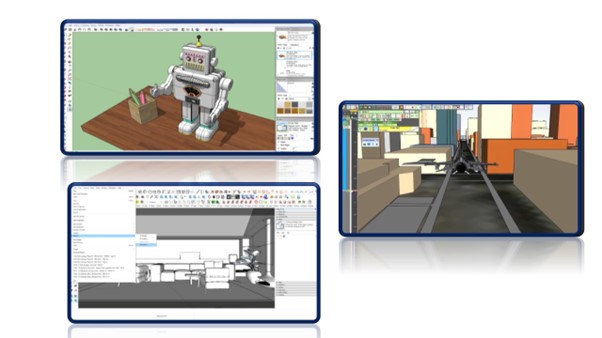
SketchUp can animate scenes of a 3D model. Animations are a great way to show off your model from different angles or share shadow studies. For example, say you create a scene with a morning shadow, another scene with a noon shadow, and a third with an evening shadow. With SketchUp’s animation feature, you can watch the shadow transition from morning to evening.
Upcoming Batches
Certifications

Google SketchUp Certification Training
About Google SketchUp Certification Training in Indore at Tech Cluster


